One of the key features of AutoCAD is the ability to customize line types, which can add visual interest and clarity to your drawings. In this article, we’ll show you how to create your own custom linetypes in AutoCAD.
Before we dive into the steps for creating a custom line type, let’s first take a look at the basics of AutoCAD line types.
Understanding the Basics of AutoCAD Line Types
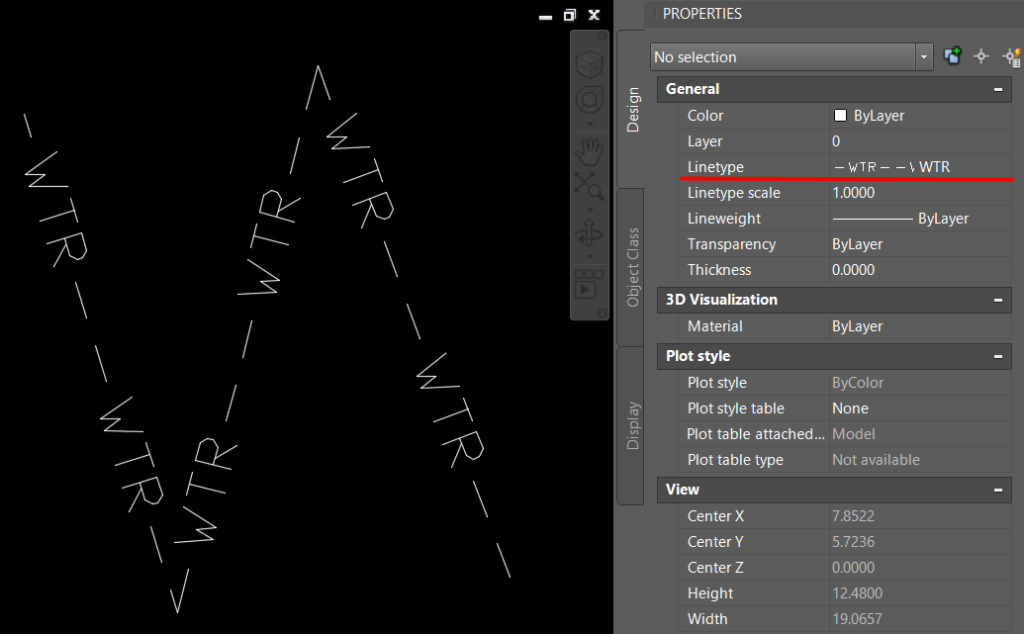
In AutoCAD, line types are used to specify the appearance of lines in a drawing. By default, AutoCAD offers a variety of predefined line types, such as solid, dashed, dotted, and more. You can also create custom line types by defining your own pattern of dashes and dots.
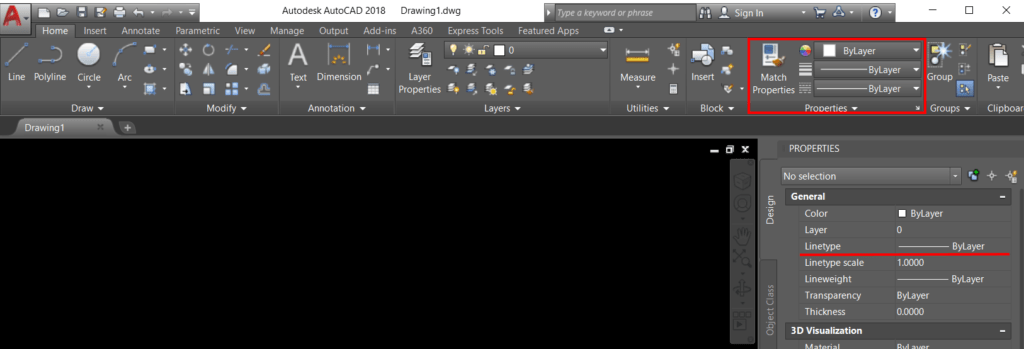
To apply a line type to a line or object in AutoCAD, you can use the Properties palette or the Linetype drop-down list on the Home tab of the ribbon. You can also set the default line type for new objects by using the Linetype Manager or the Options dialog box.

Now that you have a basic understanding of AutoCAD line types, let’s move on to the steps for creating your own custom line type.
Creating a Custom Linetypes in AutoCAD
To create a custom line type in AutoCAD we will use the “Make Linetype” function from the Express Tools. This means that AutoCAD LT Users won’t be able to use this method.
Now, having said that, to create your own Custom linetype, follow the steps below:
- First, go to the Express tools ribbon tab, there, under the Tools drop-down menu select Make Linetype. Alternatively, you can type on the command line MKLTYPE.

- A window will pop up, type your linetype file name, then hit save. You’ll see this filename when you load the .lin file in the Windows dialog box.
- Then, in AutoCAD type your line type name, and hit Enter. You will see this linetype name in the name list.
- Next, type in a Description for the linetype (it is optional), and hit Enter.
- Now, specify the starting point and endpoint of the linetype.

- Lastly, Select the objects for the new linetype and hit Enter.
That was it! You can now select your new linetype from the properties palette.

Create a Complex linetype in AutoCAD
Sometimes you could need a linetype from a more complex object like a Block. Unfortunately, it is not possible to create a linetype from Blocks, however, there is a trick that we can use.
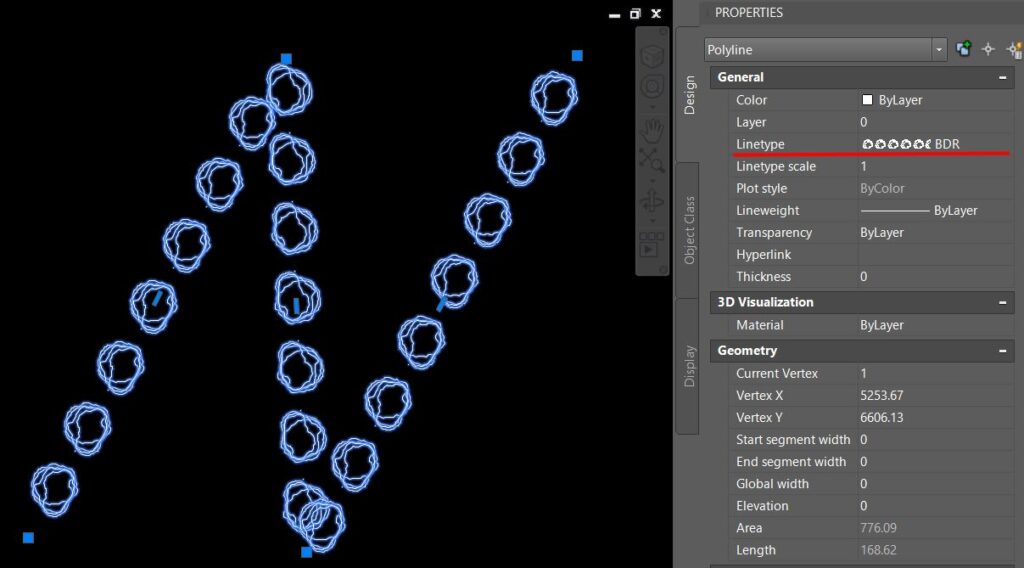
When creating linetypes we can’t use Block objects, but instead, we can use Shapes. Shapes are geometry objects created using several simple objects. These objects can be lines, polylines, circles, or arcs, and are stored in a text file.
In order to create a custom linetype from blocks then, you should explode the block and create a shape out of its objects. Check out How to Create Shape in AutoCAD (What is a Shape?)
After creating a Shape from your Block, insert it into the drawing. Next, follow the steps below to create a linetype using that shape.
- First, Start the MKLTYPE tool as previously.
- In the pop-up window, type in the new linetype filename and hit Save.
- Then, in AutoCAD type your line type name, and hit Enter.
- Next, type in a Description for the linetype (it is optional), and hit Enter.
- Specify the starting point and endpoint of the linetype.

- Lastly, Select the Shape object (and any additional objects if you want) for the new linetype and hit Enter.
That was it! The new linetype will look as if it has blocks in its definition.

Having these complex linetypes in a drawing can, however, lead to some issues like having different LineType scales in differently scaled viewports. Check out Uniform LineType Scale for Different Viewport Scales to get over that problem easily.
Hope you find this post a value, you can check our other AutoCAD Articles to find even more interesting tips and tricks.
And don’t forget to share this page with your friends and colleagues.

