

Unlocking precision and professionalism in your designs is crucial, one often encounters a challenge when dealing with elongated projects that like roads, railways, pipelines, etc, involve placing text along curved paths. AutoCAD users familiar with standard editing tools may find this task daunting. However, there are different solutions. One lies in the powerful Express tool – Arc Aligned Text while others can be third-party apps. In this post, we’ll explore how these unique AutoCAD features revolutionize the placement of annotations along curved objects. From formatting options to modifying existing elements, discover how adding curved texts enhances efficiency in creating road/pipe layout plans, making it an indispensable tool for design professionals.
Add text along Curves using the Arc Aligned Text tool
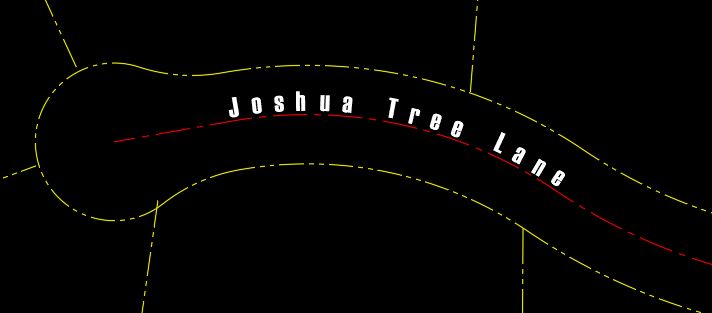
To streamline the process of aligning text to curves, AutoCAD offers the Express tool known as “Arc Aligned Text.” Unlike the conventional single-line or multi-line text commonly used in drawings, this tool employs a distinctive AutoCAD text type called ‘ArcAlignedText.’ The reason behind this uniqueness lies in the inability of regular text objects to curve along an object.
Type in ARCTEXT or select the icon from the Express Tools ribbon tab to trigger the tool. When executed the command prompts to select an arc, then a dialogue box pops up, presenting various formatting options such as fonts, size, and the text string itself.
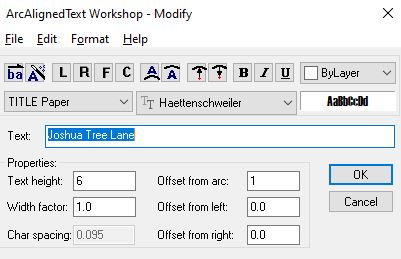
Remarkably, this command isn’t solely for adding new elements; it also allows for the modification of existing ArcAlignedText components. To do that, just select an existing ArcAlignedText instead of an Arc.
For those who prefer an alternative approach, accessing the properties palette provides a convenient means to tweak existing parameters.
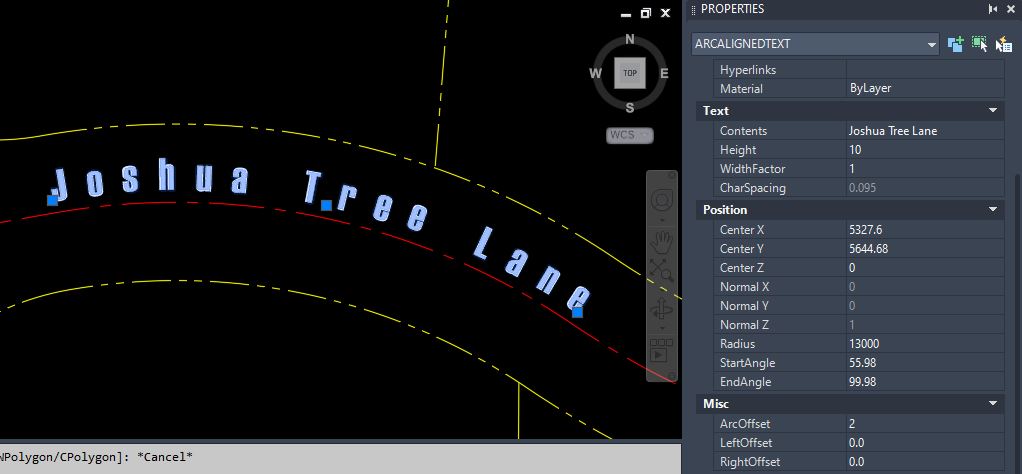
Whether using the command dialogue or the properties palette, mastering Arc Aligned Text in AutoCAD significantly enhances the precision and flexibility of text placement along curved road layouts. This proves invaluable for professionals seeking efficiency in their design processes.
Curved text in AutoCAD using a Lisp
Enhancing text alignment in AutoCAD can reach new heights with third-party apps/lisps (previously we discussed How to Use Custom Lisp routines so we won’t do that here again). One of the better ones and my personal favorite is Lee Mac’s Align Text to Curve routine, a versatile program designed to empower users in dynamically aligning Text or MText objects along curves. This innovative tool offers a spectrum of placement controls accessible directly from the command line, allowing users to effortlessly align existing or new text elements to polylines, arcs, circles, etc.
The routine allows users to set existing text to a curve or create entirely new text elements aligned to the desired curve. Additionally, it offers a ‘Multiple Text Mode’ for setting multiple copies of a text element along the selected curve, enhancing efficiency in design workflows.
Real-time dynamic alignment allows users to adjust text offset and rotation relative to the curve. The program introduces shortcut keys like + and – for offset distance adjustments and < and > for angle modifications.

The routine can be downloaded as a Lisp from the official Lee Mac site Align Text to Curve or can be downloaded as a free app from the Autodesk store.
If you like the routine, you can say thanks to Lee Mac’s programming and donate any amount.
Final Thoughts
In conclusion, the ability to Align Text to curve empowers AutoCAD users with unparalleled flexibility in text alignment. Whether you choose the Arc Aligned Text or a Custom lisp routine the ability to align text to curves will become an indispensable asset in the toolkit of design professionals.
I hope you find this post a value, you can check our other AutoCAD Articles to find even more interesting tips and tricks.