
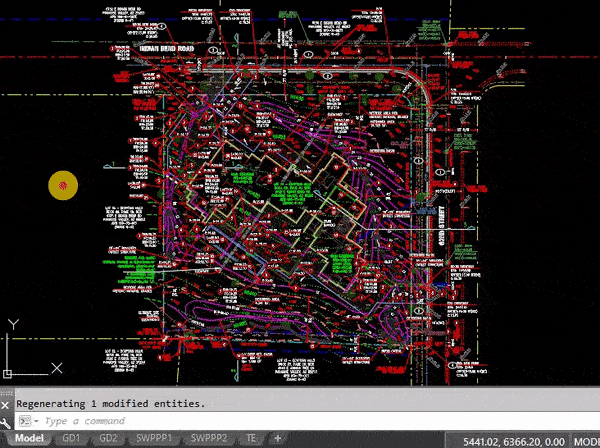
Today we are going to look at How to add the Viewport Boundary to the Model Space in AutoCAD. This can be quite useful especially if you have several viewports. That way while drawing in the model space you would know the boundaries of the viewport and won’t go outside of those.
If you are currently not using AutoCAD Layouts and Viewports it is very important to start now as this will drastically improve your AutoCAD Productivity. Check out our Post where go through 8 Reasons to start using AutoCAD Layouts!
Add Viewport Boundary in Model Space using Change Space!
The First trick we will use is the Change Space Command. We have previously explained what it does and how to use it in How to Move Objects From Model space to Paper Space (And Vice Versa).
To quickly move the Viewport boundary follow the steps below:
- In the Layout tab, draw a polyline around the outside of the viewport.
- Type on the command line CHSPACE to trigger Change Space Command.
- AutoCAD will ask you to select Objects to move to the Model Space. Select The Polyline boundary and hit Enter.
- Now, click in the Viewport to select it and hit Enter to move the Polyline in.
That was it, you successfully added the viewport boundary to Model Space!
Viewport Boundary to Model Space using AutoLISP
The second trick is the fastest and easiest way to add a Viewport boundary to Model Space. For it, we will use a LISP, this is a custom program added to AutoCAD. To find out more about AutoLISP in AutoCAD and how to use it check out our post: Accelerate Your Work with AutoLISP! (Only 3 Easy Steps!).
The LISP we will use is created by LeeMac@ from http://www.lee-mac.com there you can find more great LISP Routines! Now, follow the steps below:
- Download the LISP routine from here.
- Load the LISP in AutoCAD using our Guide.
- In the paperspace, type on the Command Line VPO to trigger the program.
- Select the Viewport Boundary
- Hit Enter to finish the program.

That is all! Just one command!
Add all Viewport Boundaries at Once!
The same LISP has even more to offer! More particularly, you can Add viewport Boundaries to Model Space off all viewports at once!
Type on the Command Line VPOL to Outline All Viewports in the Active Layout.
Or type VPOA to Automatically Outline All Viewports all Layouts.
For more great AutoCAD Related posts check our Page AutoCAD Tips.