
So you have an existing block that you’ve been using for some time, but you want to add something to it? Or there is a newly created block that you just realized needs some additional objects?
The first thing that comes in mind is to explode the block and recreate it, or to open block editor and draw the new objects there..
There are several downsides in using those methods:
- You have to go through all the steps of creating the new block.
- If you are going to Explode or Burst your block all the dynamic actions will be lost
- By editing existing block you have to take care of different scales that block itself and object you copied have.
- Most importantly: You waste your time doing those things!
So what is the alternative ?
Add Objects using Edit Block in-place..!
By using this trick we go around all those Cons listed above for other two methods. Let’s go through these 5 Easy steps of adding objects to block.
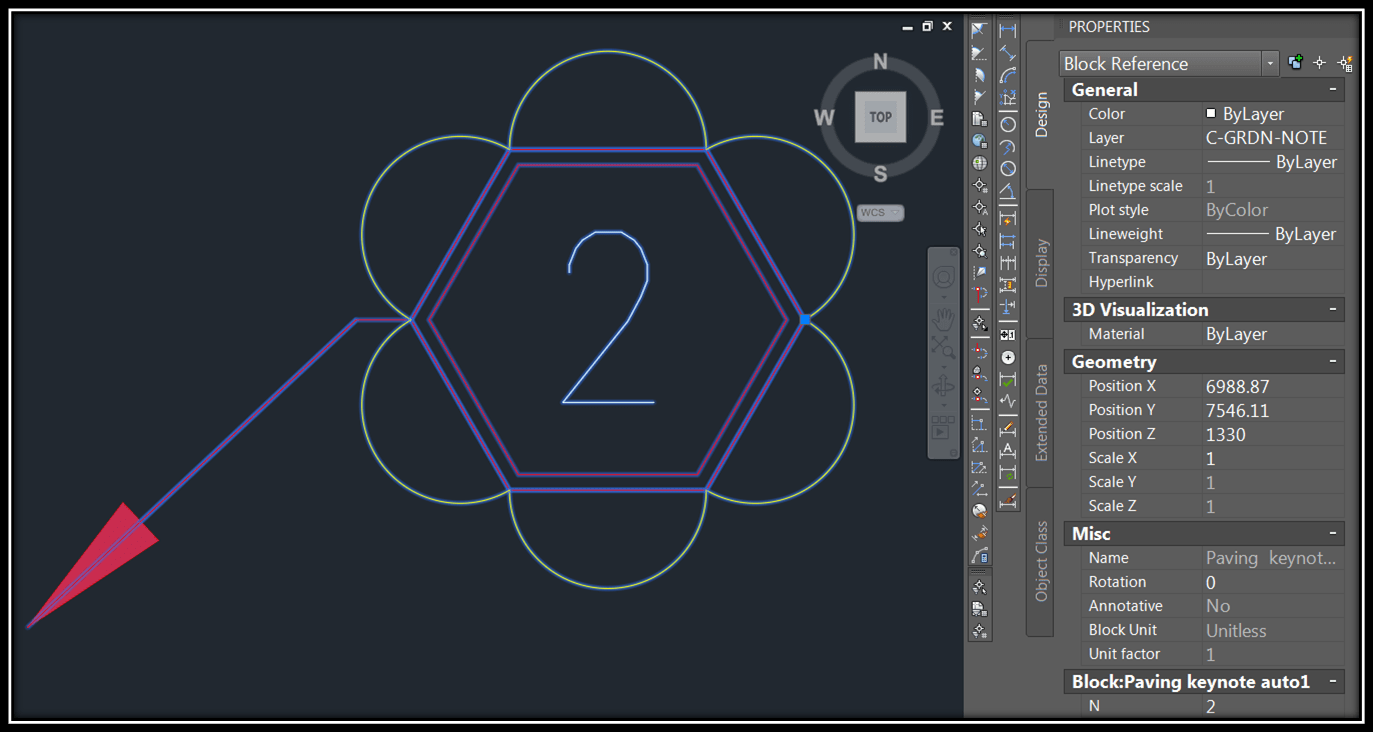
For the example we will be using my Note Block. It is Red Hexagon with attribute for the Note number.
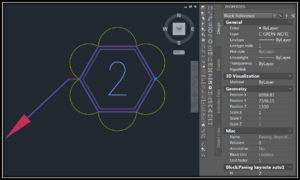
We want to add those 6 yellow arcs to it, so it looks more like a flower.
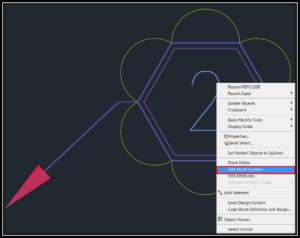
- First we select the block, right-click and choose “Edit Block in-place..”
- A window will pop up called Reference Edit. Here you make sure if this is the block you want to edit.
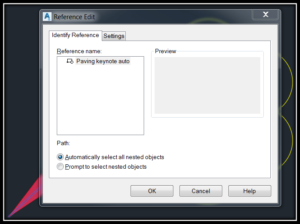
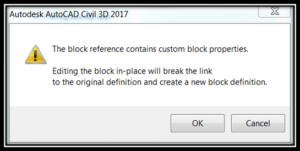
Note: In our case when we want to edit Dynamic Block after hitting OK, new window will pop up, warning you that the original definitions will be lost so be aware, dynamic actions will Not work anymore!
- Once we are in the editor we will see that block objects are shown normal while the surrounding objects are dimmed. Here we have to click on Add to Working Set button located in Ribbon under Edit Reference.
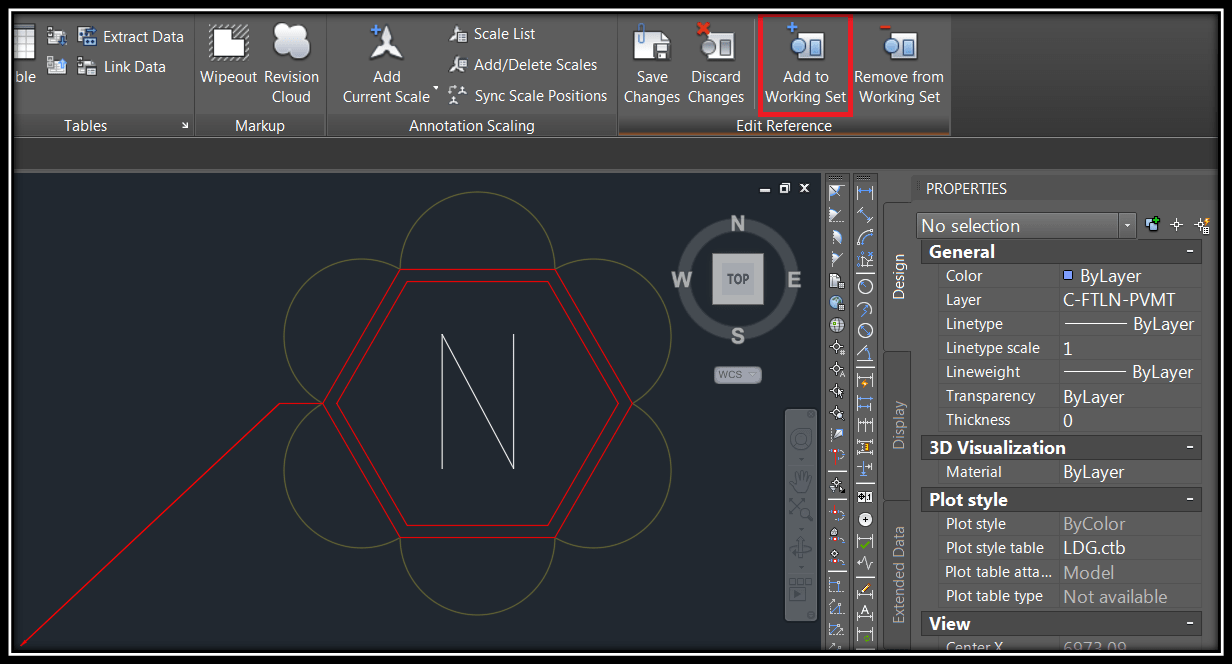
Note: If you prefer using commands you can type in REFSET, then Add. - At this point we have to select objects we want to add and hit enter. We can now see that they are no longer faded.

Note: We can also go and hit Remove from Working Set option if we want to remove objects from our Block. - The last thing we have to do is to hit Save Changes button which is again placed in the Ribbon under Edit Reference, right next to Add To Working Set button.
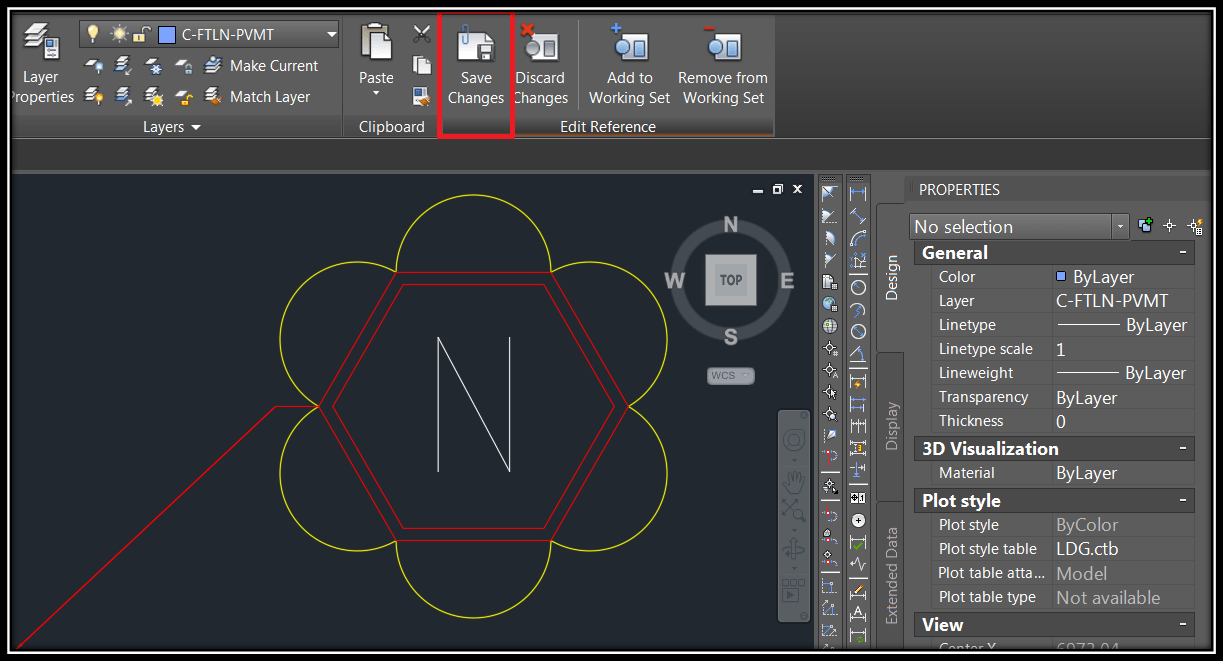
Note: We will be asked to verify the changes, we just hit OK there.
We can now admire our new “flower like” Note Block!
Other methods?
If you are familiar with Lisp routines and how to use them, you may check LeeMac’s lisp that does just that – Add Objects to Block.