

We found out No:1 AutoCAD Secret! (7 Benefits of using Sheet Set!) in our previous post. It is now time for us to create our first Sheet Set.
As already mentioned in the previous post, Sheet Set in AutoCAD is a great tool that gives us the opportunity to manage our drawings flawlessly.
There is one very important note that I have to make before proceeding. In order to use Sheet Set, you must have all your drawings set in Layouts. If you have for example 5 Layouts in one file, you can add all those 5 layouts in the Sheet set, but if there is no layout created, you won’t be able to use it. Even if you are still not sure if sheet sets will be useful for you, using Layouts is really important and you should start using them as soon as possible! AutoCAD Layouts (8 Reasons to Start Using them!)
Create a Sheet Set
Creating a Sheet set is a fairly simple job. We will just have to go through these 54 simple steps:
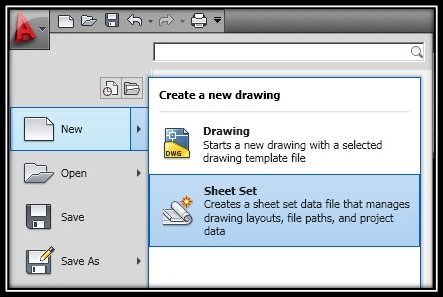
- To create a Sheet set we click on AutoCAD logo on the far left corner of the screen, then go to New > Sheet Set.
- Our second step is really important to understand. There are two options Create a sheet set using: An example sheet set and Existing drawings
Here we will choose Existing drawings, so we can use layouts of an existing .dwg files.
The first option is great if we already have worked with the sheet sets and we have an existing template that we use.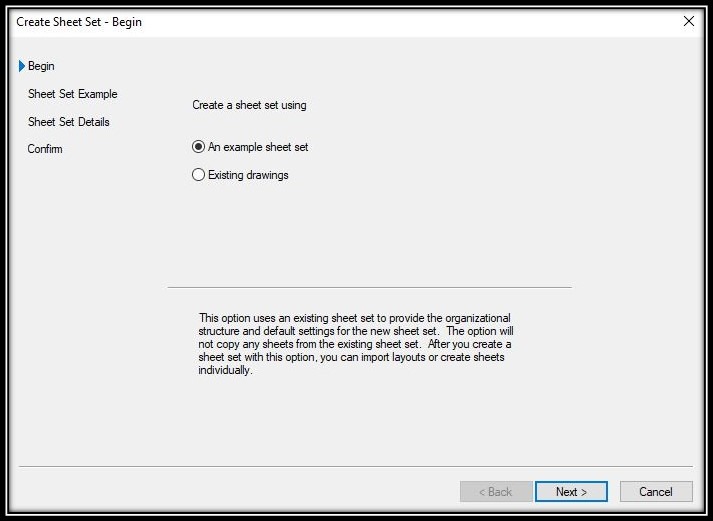
- On the third step, we have to fill in the Name of the Sheet Set and the Description which is optional.
I would suggest to type in Short well-defined Name and to fill in the full Name of the Project into the Description. (We can change the name and Description later so don’t worry too much)
Here we also have to choose a folder where our Sheet Set will be stored by clicking on three small dots next to Store Sheet set data file (.dst) here:. My suggestion is to create a folder that contains all the projects from a specific time or place. For example 2018 Town of Paradise Valley
On Sheet set Details window we can also change the Sheet Set Properties, but we will leave them by default for now. (We can change those later)
Click Next >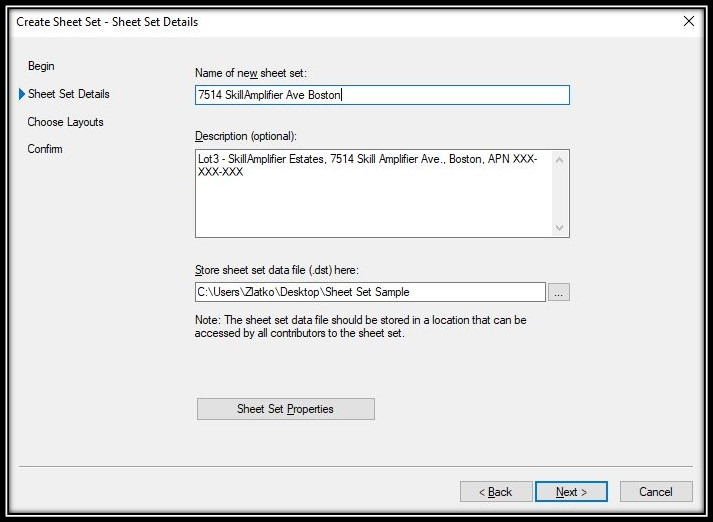
- It is now time to Choose our Drawings (Layouts). This is done by clicking on Browse… Button and choosing our .dwg files.
As previously said we can only use drawings that have Layouts.
When we choose our drawings all their layouts will be shown in this window. If there are blank layouts or ones that we don’t want to include in the Sheet Set, we just uncheck them. We can add new Layouts to our Sheet set later on so this is can be done in earlier stages of the project.
- After clicking Next we will go to Confirm Page, there AutoCAD Will show us all the info related to the current Sheet Set. After reviewing it we are ready to hit Finish
A window will pop up called Sheet Set Manager.  Here we will start modifying and managing our drawings. This window can be hidden and shown by clicking CTRL + 4 combination.
Now we have created a new Sheet set. In the next related posts, we will start digging deeper into the great functionality that this tool gives us. We will Rename and renumber the drawings, create a Drawing List Table and a Title block. We will also create a Library with specific details.
So stay tuned and don’t forget to subscribe and follow us on social media.